I realized a while into it I should start photographing to blog about the process, so the first half or so is missing...but I created a tri-fold as seen on many you tube video tutorials. Basically it's this process:
Using a 12 inch by about 5.5 or 6 inch piece of paper (patterned or not, it will be your background but you're likely to cover a lot of it up) score straight down the paper (holding it hot-dog style) at 2 inches, 4 inches, 8 inches, and 10 inches. Basically you need two scored lines at the first 2 inches on both sides of the paper, running short-wise. This is very poorly written, sorry.
Then using a paper cutter (or x-acto knife if you don't have a cutter (go to the store and get a cutter)) from the first score to the last score (2 inches to 10 inches) cut two lines, each 1.5 inches from the edge of your paper (holding it hamburger style), down the long side.
This is too wordy, sorry for the mumbo-jumbo, but I wanted to make sure you could (sort of ) follow the same directions and the you tube videos are all different.
Anyway, fold the paper with your pattern back to back at the 4 inch score. This will be the front of your card. Then, fold at the 8 inch score so the pattern comes together. This is where the scoring comes in handy....
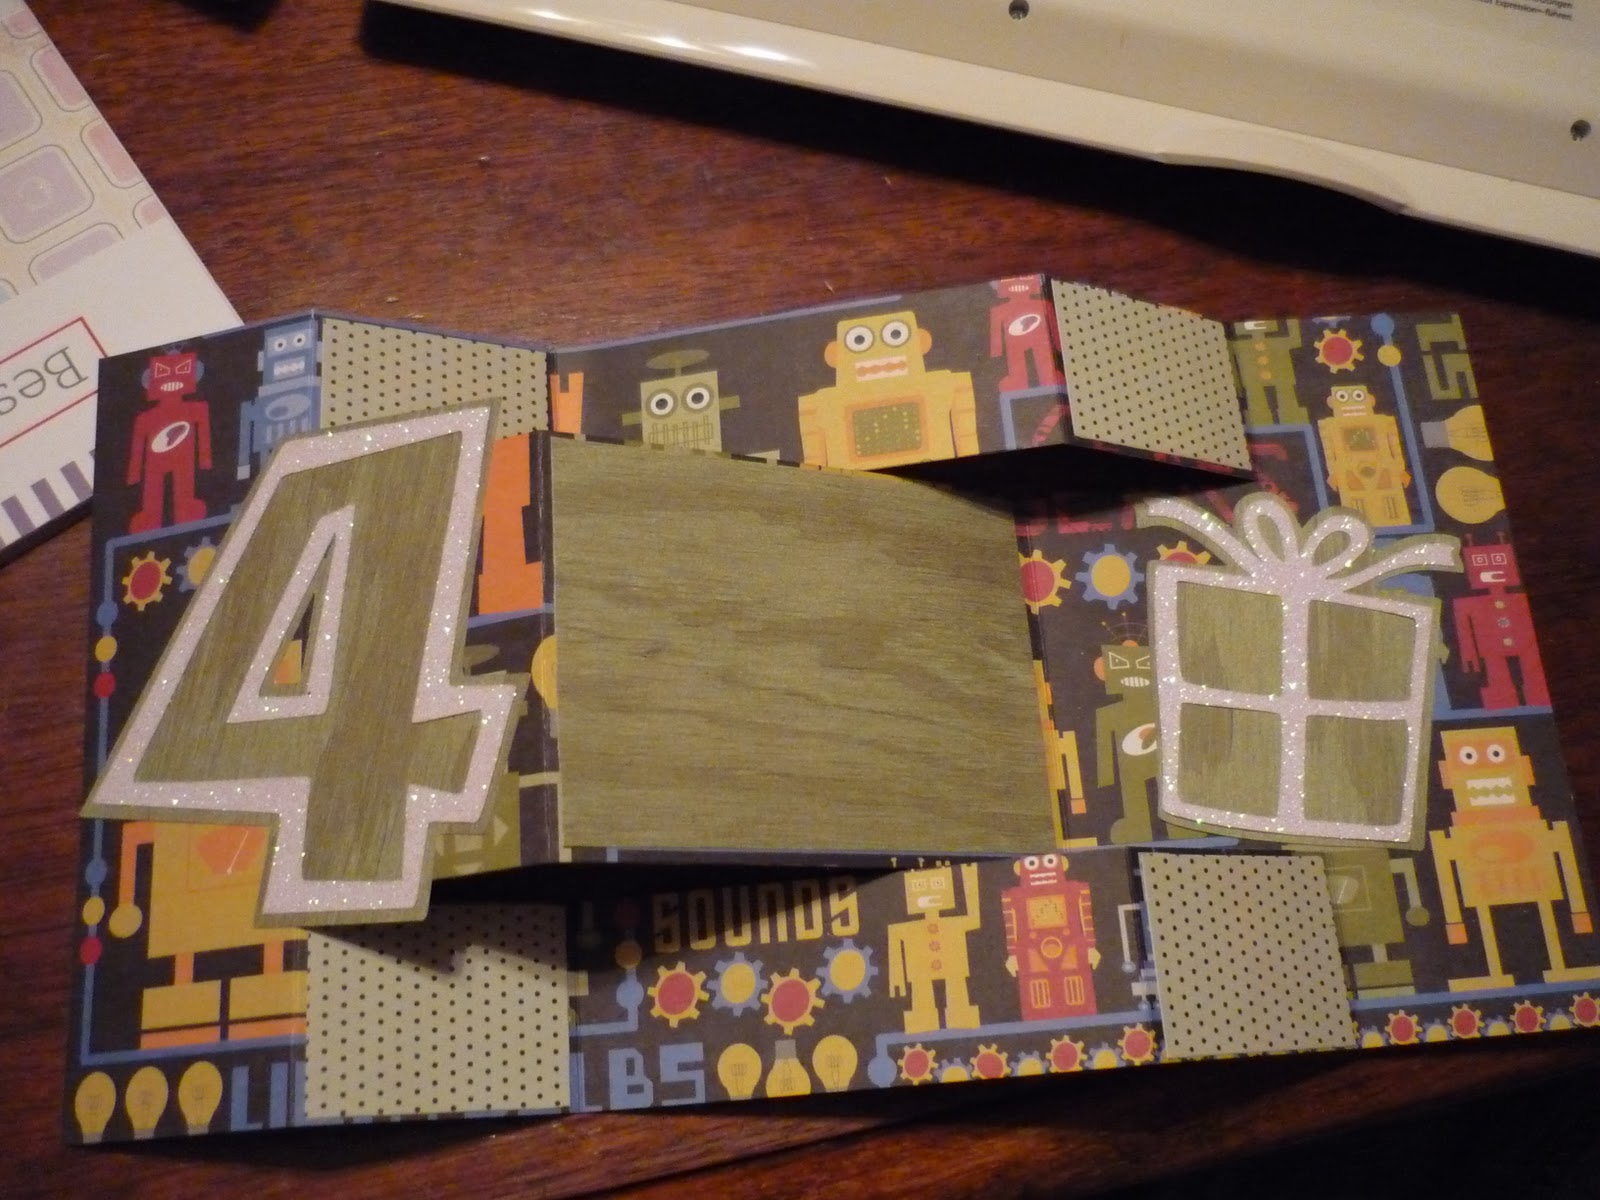
Now fold the top and bottom pieces backwards at the 2 inch score and alternate across, as shown below.

I had already added some complimentary colors before taking the photo, but that part is easy, cut some squares and glue.

I decided to use the Mickey Font for the "4".

I cut it as a shadow and I think I used 3.75 inches as the size.

I used a glitter paper and cut it on silhouette to make it stand out.

Then I switched cartridges to cut out a present, the same way.


I glued the pieces on the pannels...

...with some handwritten finishing in the center panel, this card is done.
Easy.
It's tempting to get carried away when making cards, but I think simple is best. The cleaner, more concise it looks the better in my opinion. Don't get me wrong, I love to embellish (as seen in all my parenthesis when typing) but sometimes just enough is better than too much.
I tried hand making an envelope, without the Cricut, but it didn't work out quite right and I was tired and gave up. Store-bought envelopes do the same job just as well.
On another note, I never noticed before having the Cricut machine to use how much you can do without the Cricut machine. This card could be done using store-bought embellishments or hand cutting them. Many scrapbooking companies sell "scrap packs" that have not only card stock and decorative pages but also pre-cut shapes and adornments. I love the Cricut and the possibilities are endless with it, but don't let your possibilities stop because you don't have one, you can work around it.

No comments:
Post a Comment