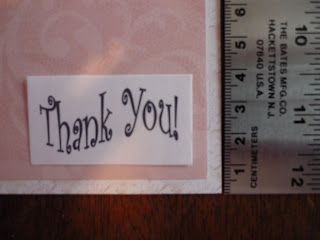
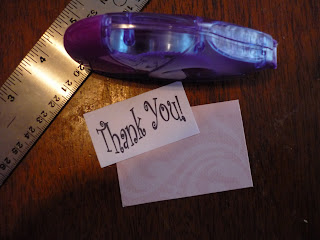
I got started by typing up the words "Thank You!" in Microsoft Word. Instead of just typing them out into normal lettering, I used WordArt to add some flare.
In my examples I'm writing the words a second time, but I only printed one line.
Once opening a new document, click Insert, then go to Picture, and find WordArt.
I used the third choice to begin with:

This is where I typed in my words "Thank You!". I used Curlz MT, size 20.
Then, to format the words differently, I clicked on them to select them. The WordArt toolbox opens.

From there, I clicked on Word Art Shape, if you just hold your mouse over without clicking it will tell you what the buttons are called. I clicked on the button in blue below:

Then I selected Wave 2, again seen in blue:

Then I used the sides of the box to adjust the size of my lettering. I made mine about 1 3/4 inches by about 1 inch. Keep in mind that however big you make your letters, you'll want the actual cut-out to be slightly bigger around them to "frame" the lettering...my cuts made my paper 2 inches by 1 inch.
Remember: The size of the words on your screen isn't necessarily the size they will print. Use the size according to the rulers in the margins to be sure. If you don't see rulers on your document screen, you can turn them on by going to View, and selecting Rulers to check them on.
After printing that, I found some scraps of paper from earlier projects to "mat" the printer paper with.

Then I got to cutting...
The smallest piece first:

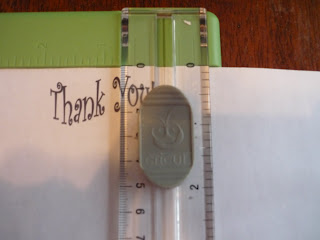


The smallest piece first:

Then, I started cutting only as far as I needed to to make my rectangles, to save paper.

Next, I lined up the papers to get a feel for how big I needed to cut each one. I decided to do a half-centimeter increase in each side.

Marked my lengths with a pencil, and cut the other sheets....
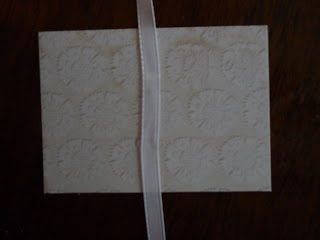
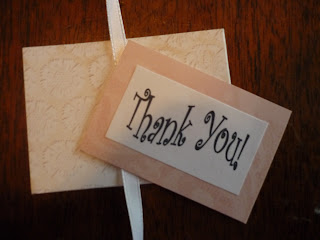
I cut a piece of plain card stock to back the white patterned sheet to give it some density.
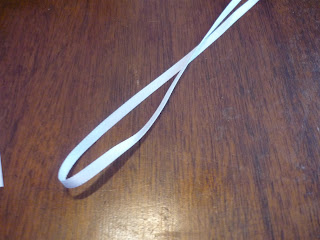
Rather than punching a hole in the card to attach it to a ribbon, I decided to glue it around the ribbon.
I measured about how much ribbon I think I'll need to wrap around the bread, plus about 10 inches...I don't want to run out so it's better to have too much than too little...
Then I found the middle of the piece:

I'm going to use glue dots to attach the ribbon.


Now I'm going to glue the card stock to the back of the patterned paper. I like using the glue roller a lot, so far it's the easiest way I've found to glue. I'm not sure exactly what it's called...but it's Scotch brand and it works like a white-out roller, but instead of white-out it's got adhesive.

Now for the pink patterned paper and the printer paper...

To keep the depth between the pink patterned paper and the white patterned paper with the ribbon, I'm going to use more glue dots in four corners.


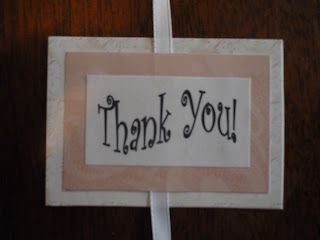
And with that, I attach the pink paper and I'm finished.

Now that I finished doing it this way, I think I would have liked it better if I put the ribbon between the card stock and the white background, but it's still ok.
The post about the bread will be coming soon...

No comments:
Post a Comment