Monday, November 15, 2010

Kids' Turkey Crafts

It seems to me this year the media has tried to make Christmas come before Thanksgiving. I don't think so, guys.

Don't get me wrong, I'm sure I'll be in the "Christmas mood" eventually (it kind of pops up every now and then) but right now, I would like to enjoy November before we rush into December 25th.
I'm excited for Christmas, I actually am almost done Christmas shopping I think (!!) and I have plans to try and make this year more about the activities with the little ones and spending time with the family than it is about who's getting what for who.

Don't hold me to that though. There's always something else out there that I think "gee, maybe I should have got them that instead of what I already bought them". BUT I'm trying to hold back and on top of that look at the big picture with the money involved. Do I really want that item or would I rather see savings adding up? --I'm debating challenging myself to try the week without spending again, but I'm kind of addicted to shopping and bargain hunting.--

So, to keep the excitement around for November, I've done a few projects with Aidan to help inspire some Thanksgiving whimsy.

Yesterday as a spur of the moment idea we picked up leaves outside to assemble into a turkey picture.
I just took a piece of construction paper and glued the leaves to the page as shown, using a different type for the body than feathers. Then I cut out the beak and "waddle"? "gobbler"? proper term? from felt and glued those and googly-eyes to make the face. Done. Easy. Exciting for Aidan.

I could hardly get it away from him to take the picture, as demonstrated with the toes in the corner. of the photo.

He was mesmerized by the eyes. He's never seen googly-eyes I don't think.

That's not filth in his hair, I promise. He was in an uproarious mood so I decided "what the heck?" and gave him a Mohawk for the day. He was interested in the morning but worn out by the time he'd conquered those Spaghetti-Os.

That picture about sums up our day.

The next craft we did comes from Kaboose. I thought it was so cute, we had to try it.

Aidan loves saying "gobble gobble"!
I skipped a few steps as given by the creators, but I was improvising with two toddlers running around tonight.
These colored strips are going to be the turkey's feathers.


I cut them down to the fold point and then was ready to move on. You're supposed to color the other side as well (for a better look, do this!) and I'd suggest doing it at this point if you're going to.
I cinched the "feathers" down with a rubber band and arranged them to look turkey-like.
This is where you can see where coloring both sides would be worth your time...
To do the feet I cut triangles and then cut "toes" (talons?) out of those triangles.
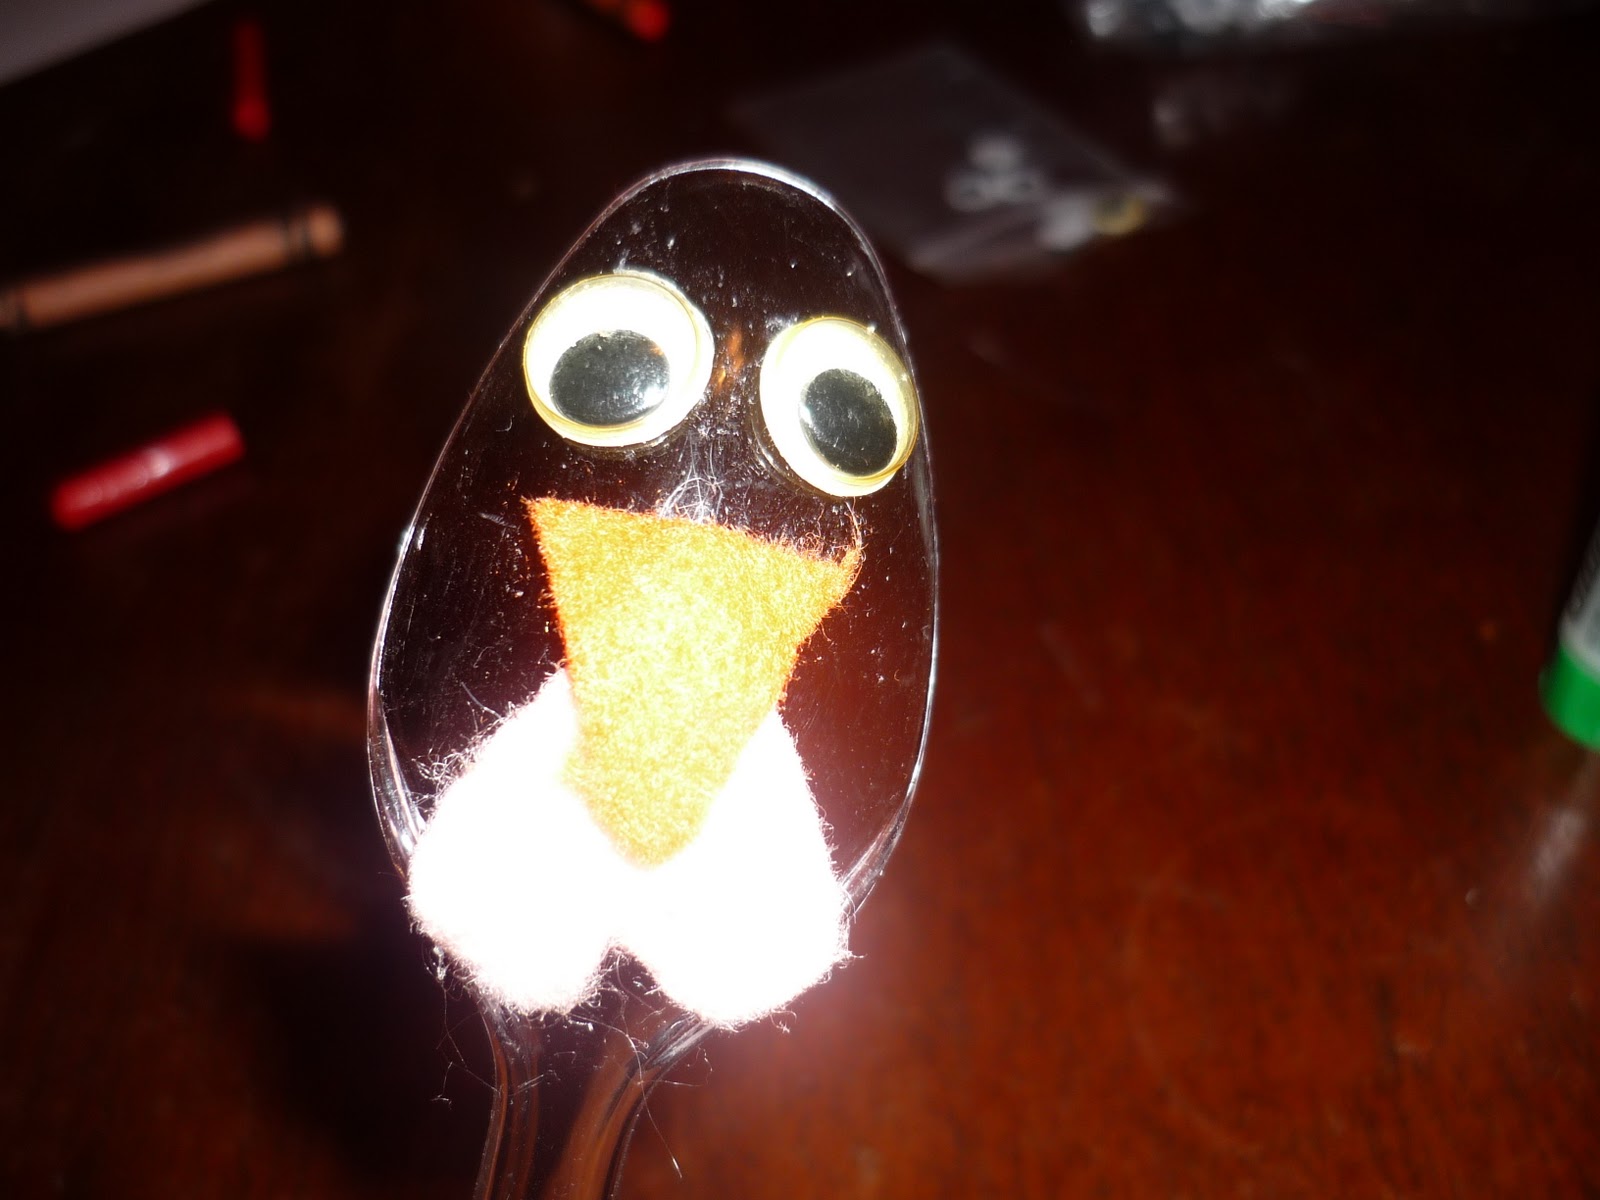
I also didn't paint the spoon. I glued the felt pieces and eyes with a glue-stick. Use regular glue if you have it. Glue stick doesn't work so well.... I used a pink heart shape for the "gobbler"? "waddle"?...and an orange triangle for the beak.
Cute!

I imagine you could take this farther and decorate him more...paint feathers on his body, use leaves for feathers, etc.


I'll try to get my Thanksgiving cards done soon and up here and some more Thanksgiving crafts and recipes up. Between school work and mom work and such. Though occasionally I can combine these tasks.

Thanks for reading, as always.

Saturday, November 13, 2010

4th Birthday Card

It's been a while since I shared a paper craft on here, and I had to make this card this week so here you go!

I realized a while into it I should start photographing to blog about the process, so the first half or so is missing...but I created a tri-fold as seen on many you tube video tutorials. Basically it's this process:
Using a 12 inch by about 5.5 or 6 inch piece of paper (patterned or not, it will be your background but you're likely to cover a lot of it up) score straight down the paper (holding it hot-dog style) at 2 inches, 4 inches, 8 inches, and 10 inches. Basically you need two scored lines at the first 2 inches on both sides of the paper, running short-wise. This is very poorly written, sorry.

Then using a paper cutter (or x-acto knife if you don't have a cutter (go to the store and get a cutter)) from the first score to the last score (2 inches to 10 inches) cut two lines, each 1.5 inches from the edge of your paper (holding it hamburger style), down the long side.

This is too wordy, sorry for the mumbo-jumbo, but I wanted to make sure you could (sort of ) follow the same directions and the you tube videos are all different.

Anyway, fold the paper with your pattern back to back at the 4 inch score. This will be the front of your card. Then, fold at the 8 inch score so the pattern comes together. This is where the scoring comes in handy....

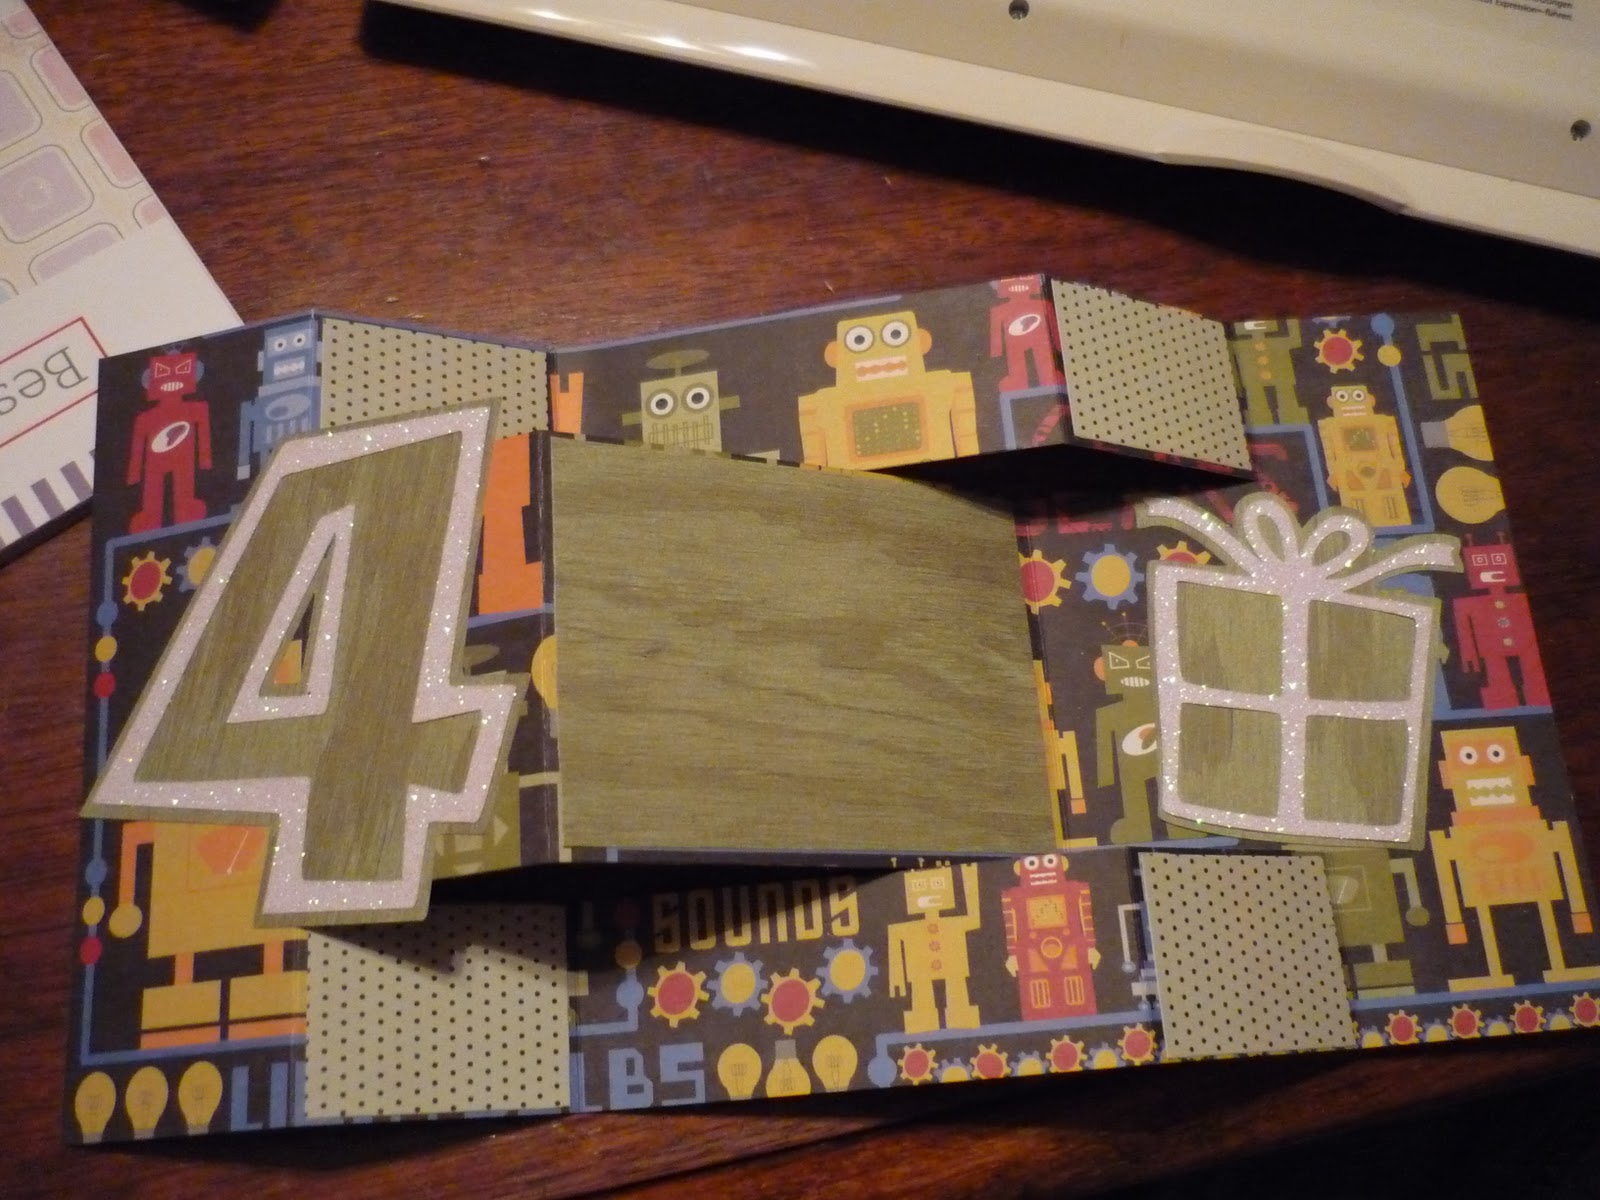
Now fold the top and bottom pieces backwards at the 2 inch score and alternate across, as shown below.

I had already added some complimentary colors before taking the photo, but that part is easy, cut some squares and glue.

I decided to use the Mickey Font for the "4".

I cut it as a shadow and I think I used 3.75 inches as the size.

I used a glitter paper and cut it on silhouette to make it stand out.

Then I switched cartridges to cut out a present, the same way.
I think this one was 3 inches.


I glued the pieces on the pannels...

...with some handwritten finishing in the center panel, this card is done.

Easy.

It's tempting to get carried away when making cards, but I think simple is best. The cleaner, more concise it looks the better in my opinion. Don't get me wrong, I love to embellish (as seen in all my parenthesis when typing) but sometimes just enough is better than too much.

I tried hand making an envelope, without the Cricut, but it didn't work out quite right and I was tired and gave up. Store-bought envelopes do the same job just as well.

On another note, I never noticed before having the Cricut machine to use how much you can do without the Cricut machine. This card could be done using store-bought embellishments or hand cutting them. Many scrapbooking companies sell "scrap packs" that have not only card stock and decorative pages but also pre-cut shapes and adornments.  I love  the Cricut and the possibilities are endless with it, but don't let your possibilities stop because you don't have one, you can work around it.

Thursday, November 11, 2010

Pumpkin Pie Bites

Two posts in the same week? I must really be on a roll here...

I tried the Pumpkin Pie Bites Recipe from Bakerella's blog today. They are easy(ish) and cute!

Aidan was up for "helping" measure out the spices.


He was very busy working.

I will admit that this recipe had me looking up and down through the house trying to find my pumpkin cookie cutter that I just bought less than a month ago. I resorted to claiming holiday vandals, but then found them in a bag of "pantry" items that I remember filling, but don't remember putting the new cookie cutters in there. I know the truth deep down, but it's always fun to try the "someone stole it" routine.

I went to use my pumpkin puree I made (gasp) two or three weeks ago. Two or three weeks? Already...ahem, yuck.

You might be able to see that cloudiness in the liquid in the top right corner. If not, well, I wasn't going to risk whether this was still good or not and fortunately I still had a pumpkin on the table.

This added to the time cost, but I quartered and gutted the poor soul and baked it at 350 for about 45 minutes, until it was soft inside. (I used 1 cup of water in the baking dish.)

Then, the handy Black and Decker mini food processor was put to use and voila, fresh pumpkin puree.

So, MUCH later than I'd anticipated it taking, I finally got the filling ingredients together. It looked questionably like soup more than pie filling in thickness....

I checked the recipe again and nope, no flour left out or any thickening agent I can think of. The only idea I have for my difference is my cream cheese is still kind of lumpy...you can see it on the side of the bowl there. I decided to pour it into a microwave safe dish and heat it a little to try and melt the cream cheese. Warning: Improvising Ahead.
By the way, I think I love The Pampered Chef. I couldn't be a consultant because I'd spend too much on myself. We have the little and big glass measuring/mixing bowls like this. I LOVE them, along with most other products they make.

This experiment allowed me to use my new egg-beater whisk. It was only $1 and it looked so cute for breakfast prep...

It might have only been $1 because it won't stand up on it's own, though it looks like it was supposed to. The hen is just too heavy.

The filling makes about 2.5 cups in volume, if you're curious. You can kind of see here the specks of cream cheese. Sheesh. At this point I'm thinking "oh well, I tried".

Then, I tasted it. Yum. I don't care if it looks funny, there is a yummy yummy taste to it.....but not quite the same as regular old pumpkin pie recipes.
I used an unorthodox method to fill the little pies...a funnel and 1/4 measuring cup. Each pie took I'd guess 1/8 of a cup plus a pinch or so. I looked for our cooking syringe, that would have been an even better tool for less mess. A spoon or just plain pouring the batter out would have worked, too though!
Between batches I continued heating and stirring the filling. It got better...but I think next time I try these (there will be a next time) I'll use a regular pie filling recipe and see how that goes.

Overall, they're pretty yummy, pretty original looking, and no one can tell how many tastes you've had before you serve them, unlike a pie. The chocolate she adds on hers look like a delicious touch, but after making my own puree unexpectedly, I was ready to eat.

Monday, November 8, 2010

Fall Fun

Well, dear readers (if I have any left), I have neglected you, once again. (Could I use more commas in a sentence?)

I apologize as usual. Life has been especially busy and I foresee Christmas making it go even faster coming up but I will TRY TRY TRY to keep this blog alive.

I hope everyone had a great, safe Halloween. We had lots of fun here, picking pumpkins, making pumpkin pie, eating roasted pumpkin seeds--and that's just the pumpkin activities. Not to mention Trick-or-Treat with my little dragon.


The Pioneer Woman has saved my life, time wise. I absolutely LOVE this Perfect Pie Crust recipe found in her cookbook. I took a day and made a few batches of both pie crust and sugar cookie dough to throw in the freezer and allow myself some home-made goodies on busier days.

That crust combined with "Mrs. Sigg's Fresh Pumpkin Pie Recipe" (at least I think that's the one I used, I forgot to take note and now I'm not sure anymore!) makes for one (or two if you fill the crusts shallowly) delicious pumpkin pie. Yum. :)


So, back to that pumpkin picking thought...

Aidan found a suitable one...


...and we cut up the rest chosen.


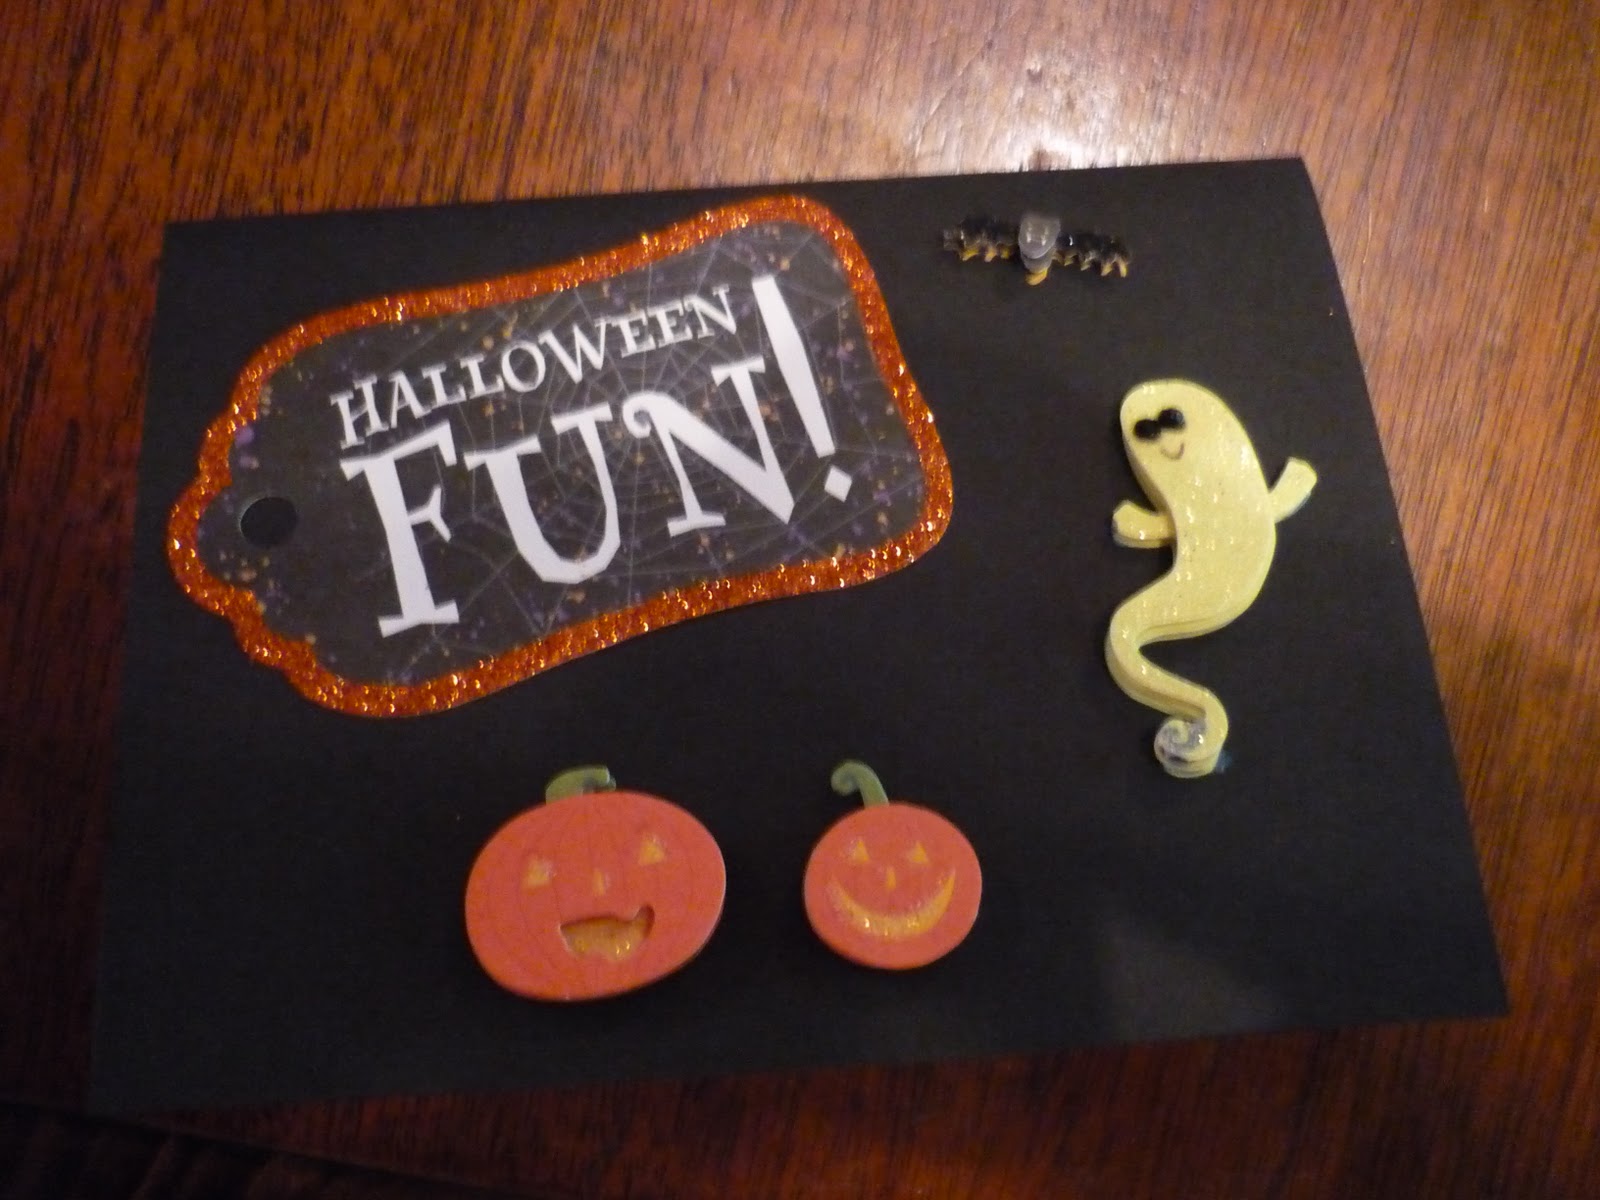
A few Halloween cards were made. These can be done by anyone. I didn't use the Cricut machine at all, just some handy pup-out sticker packages from the scrapbooking companies. Easy, cute, and done.


Visiting a coloring table of the library, the kids colored Halloween themed pages that came from www.printactivities.com this site has all kinds of things to print for kids, with all different themes and skill levels. Very cool.

In searching for my links to make this post, I found a recipe I bookmarked a while back to "try later" as the season got closer. Just in case I forget about it again, I'll share it with you now. Pumpkin Pie Bites, by bakerella.com, which looks to be an awesome blog as well. I've still got some pumpkin puree made from scratch in the 'fridge to use up, and now that I have *new* Halloween cookie cutters, I think this recipe is calling for me, the next time I have an hour free.

As always, thanks for reading. I'm not making any promises about the next posting drought, but I haven't forgotten to SHARE the fun, busy life I'm leading these days. I just get too busy to manage to share it.
Friday, September 24, 2010

Growth Chart

I'm so sorry it's been so long since I've posted!!! School and life in general has been really hectic lately. I have several post ideas that I just haven't had time to get online yet. Luckily, blogger must have my limited time in mind; they've updated their photo uploader and it's wonderful. It used to take forever and I had to click back and forth and now it's seamless. Thank you blogger!

I mentioned the growth chart I was working on in a previous post, and here it is:
It's not exactly as glorious as I had envisioned it, but it will certainly do and it looks pretty ok.

I started with a board from the hardware store, it was 7 feet by...well a few inches. It's been so long I don't remember but get yourself a board if you want to make one...the size is really up to you.

I had more photos of the beginning product but I don't know where they went. I started by cutting the board down to about 5 feet long. Then I sanded it and filled the holes with wood filler. Sanded again to get a smooth surface and smooth edges.

After the wood filler dried, I painted it white with a roller. You could use a brush for a different texture effect, but the roller left a very smooth surface.

After it dried, I started to prepare the actual growth chart part of it. I decided to align the numbers with the left side of the board so we can write names on the right side of the numbers and decorate the rest of the board more easily.

I used a tape measure, pencil, and a T-ruler-thing. My great grandfather would likely be ashamed I don't know what this is called...it might have actually been his, I'm not sure. I do know that I've heard its name before and I don't remember it now.


I measured about 1.5 inches in from the edge of the board, on the smaller sides, to get a starting point for my verticle line.

Then I used the guide mark to align my T-ruler type thing and drew a line in pencil. Any straight-edge would work, but if you don't have something so exact and even you might want to make guide lines every few inches/feet to keep your line straight.

I knew I wanted to use a dinosaur theme and thought that green would be a nice color to do the ruler in. It reminds me of vegetation for the dinos to eat.

Apparently blogger still hasn't figured out how to make uploaded photos rotate easily, and I'm feeling too lazy to rotate them and save them differently in my computer, and then upload them. I'll try to remember to rotate before uploading next time. Sorry.

Here's the finished green line. I let it dry and then got to marking the numbers.
Using permanent marker I marked the numbers. The chart starts at 1ft 1 inch. I hung it 1 foot off the floor, this way it goes up to 6 feet and mommy and daddy can be marked on the chart too, for comparison. I doubt Aidan will still be marking himself on here when he's above 5 feet, but you never know...


 Next, I went to the store (you could do this ahead of time, hehe) and was looking for ways to make the dino decorating easy and look good. JoAnn had some foam stickers that were pretty cool, but they were a little small and $7 for a whole box of them. I didn't need a whole box. I thought about printing shapes and making stencils, then I found their pre-painted wood cut outs near the wood crafts section. They cost about $0.60 each, and they were very cute!! I wanted 5, one for each food increment, but they only had four types of dinosaurs. I found an alligator and called it good...reptiles at least.

 Using wood glue, I attached the critters to my board.
 You don't need very much, as I found after putting this much on the back of my alligator...

I found a handy old tooth brush (you know, the kind that have been retired for household needs) and used that to clean out the glue that leaked out from between the pieces and got stuck in the small ridges of the alligator. It cleaned it up very easily and quickly--just don't let it dry before cleaning. Clean as you go.

I tried to put smaller species at the bottom and larger ones at the top.
A few days (weeks) went by and I finally got it hung up on the wall in Aidan's room.

Aidan was interested in helping hang it, notice the level in his hand.

As you can see, Mommy is pretty short, but relatively speaking he's to a long way to go to catch up.


This project took way longer than it should have because I stalled, and I picked it up off and on. It could easily be done in the same day, if you start early to allow for drying time. It's probably better to spread it out though, to give the paint time to really dry before gluing to it and writing on it.